
Vinyl Car Decal Information
Our vinyl decals are not dishwasher safe. The decal may peel off when exposed to the heat inside the dishwasher. One feature of a dishwasher is an automatic heating element. What it does is sanitize the dishes with warm water. The water temperature inside the dishwasher may range between 130°F-140°F.
This heat may cause the adhesive of the decal to peel off. The same concept applies to microwaves. You cannot place a mug or tumbler with a permanent vinyl decal printed on it inside the microwave.
When permanent vinyl is exposed to heat or hot water, the decal will not remove instantaneously. However, the decal may start to peel off over time when continually washed in the dishwasher.
In short, when a decal is heated excessively, this may cause the vinyl to detach from the merchandise. Even if it’s a permanent premium vinyl, it’s better to handwash the merchandise.
Picking the Right Spot for a Car Decal
This is to make sure the decal placement doesn’t look awkward, plus it has the right placement for your intended purpose. Here’s what you should know:
Driver's Side
For vinyl decals like disability signs or car passes the driver’s side windshield is recommended spot. Make sure to place it on the upper or lower corner side so it won’t disturb the driver’s sight.
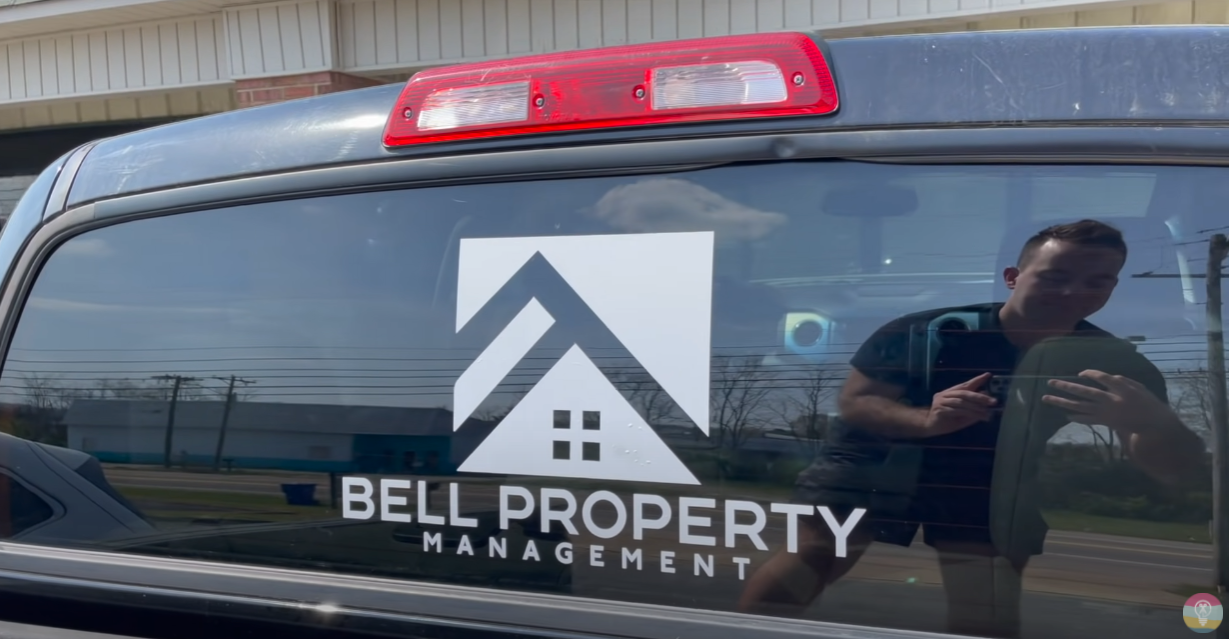
Tailgate
For the company or business vehicles, the tailgate is another great spot you can place car stickers like the company logo, or labels like “Do not delay, perishable goods”. You can also place the company name and contact number as a part of advertising the business.
Car Windows Installation
For decorative vinyl for car decals, the car window is a recommended spot. Whether be it the driver’s side, windshield, or the window visor for utility vehicles that’s a great spot. Just make sure it’s not too big which may disturb the driver’s view.
Will Permanent Vinyl Damage My Car’s Paint?
Yes, permanent vinyl may damage a car’s paint. That’s why when you decide to place a permanent vinyl on your car, make sure you want it there for a long time. This is permanent, not something you just want to remove on a whim.
Permanent vinyl placed on the car’s paint doesn’t mean it can’t be removed. It just means it has a stronger adhesive and won’t come off the surface by itself. It takes proper technique to remove permanent vinyl on cars, with the risk of damaging the car paint when not done properly.
However, permanent vinyl placed on the car’s window is much safer and would do less damage. Because when you come to think of it, the window tint is installed inside, not outside. However, if you plan to place a vinyl decal on your car temporarily you may do so with removable vinyl, just don’t expect it sticks for a long time.
-
Apply on Warm Temperatures
Before anything else, when you apply vinyl for car decals, the temperature in your surrounding should be warm. The suggested temperature is between 10℃~30℃ so the adhesive sticks well. Avoid sticking vinyl car decals in cold temperatures especially when outdoors.
-
Clean the Area of Application
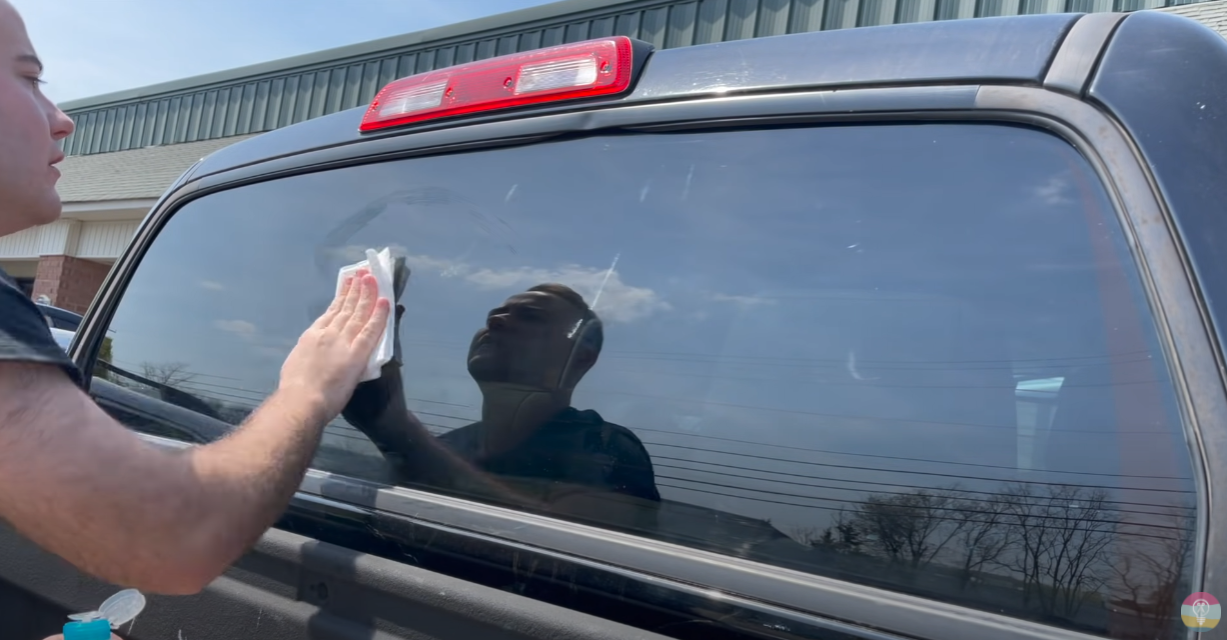
Using a clean cloth and rubbing alcohol, clean the area of application. It’s important to clean the area properly to remove dust and other dirt. The vinyl decal won’t stick properly to the surface if it wasn’t cleaned properly.
-
Let the Area Dry Completely Before Applying the Decal
Before applying the vinyl decal, make sure the area dries completely. Even a drop of water or a wick of moisture may be the cause of the vinyl not sticking properly so make sure to let it air dry before placing the vinyl.
-
Peel off the Backing Slowly
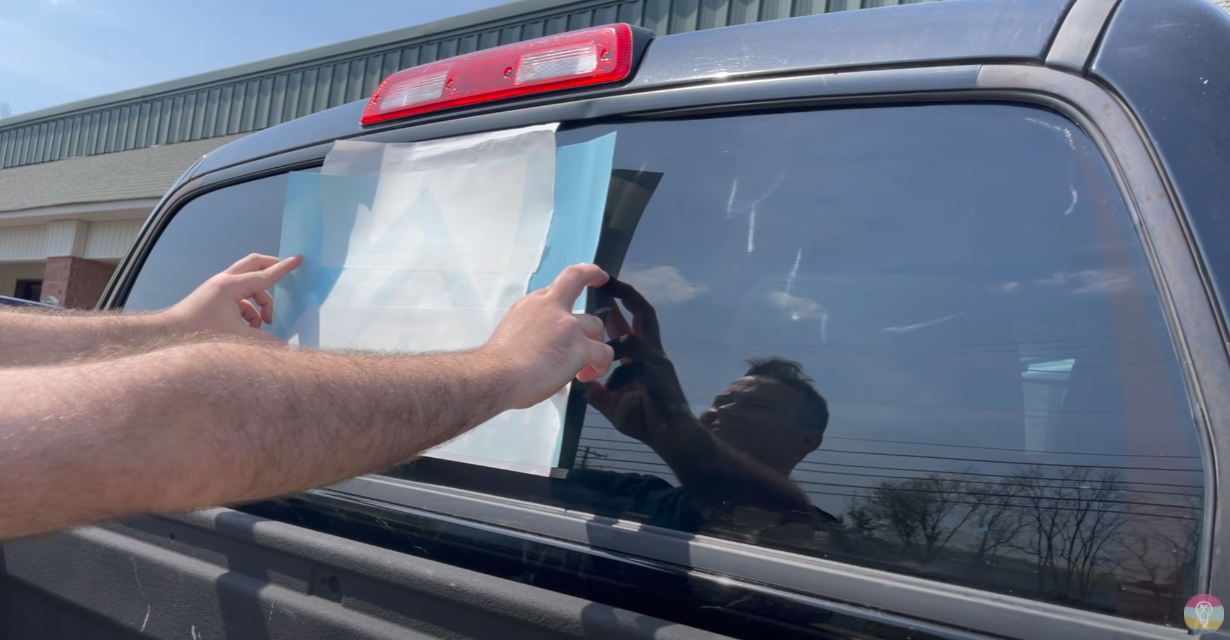
Here’s the hard part.. confirm the right placement on the car. If you’re satisfied with the placement, peel away (at a diagonal angle) a small part of the backing paper, preferably on the top portion.
Then, stick the vinyl on the surface. Make sure everything is aligned before completely sticking the decal. If you’re satisfied with the placement, slowly peel off the backing paper. By then, only the design and the transfer paper are left.
-
Remove Air Bubbles Using a Scraper Tool
Using a scraper tool, remove the air bubbles. Never skip this process. Who likes to look at vinyl on car windows with wrinkles and bubbles on it? No one!
-
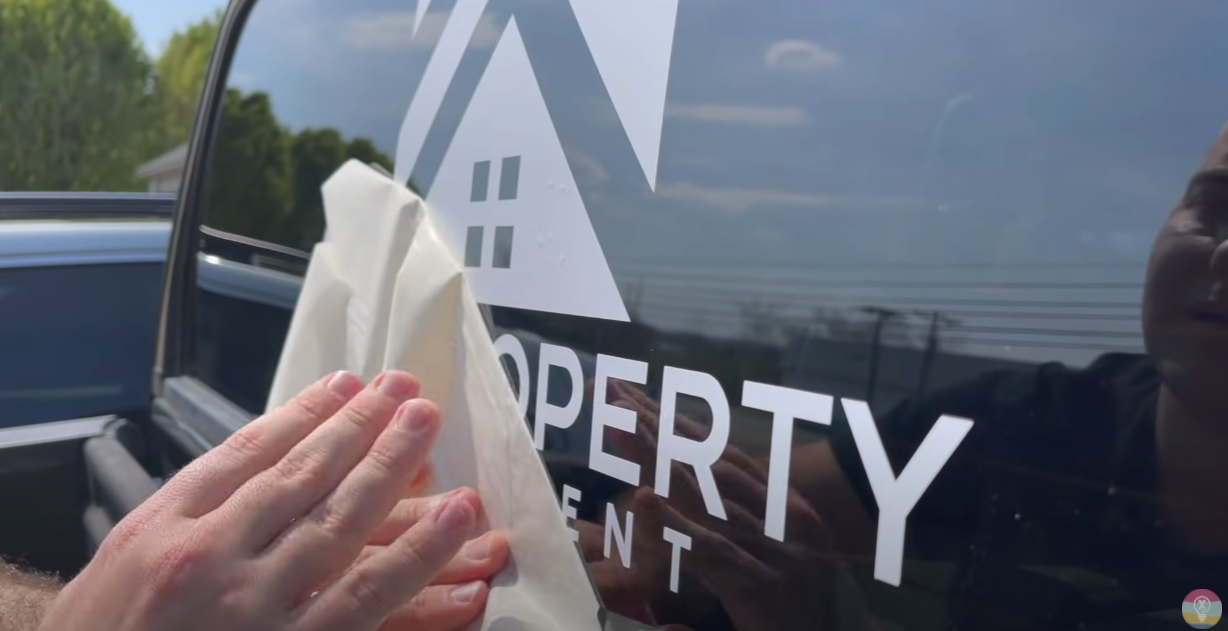
Leave the Transfer Paper While the Decal Completely Dries Off
Don’t get too excited! Leave the transfer paper for a while, at least 30 minutes to make sure the decal completely dries off. This will reduce the chances of the vinyl pulling off when the transfer sheet is removed.
As much as possible, expose it to direct sunlight. Avoid using a heat source like a dryer because it may cause the decal to melt.
-
Peel the Transfer Tape
After you’re confident the decal has completely dried off, slowly peel the transfer tape. Start at the upper corner and peel the transfer tape back slowly. If in case the vinyl peels off together with the transfer tape, press back the transfer paper, press it with a scraper tool, then try to peel it back again.
You must have slow and steady movements to avoid any damage. The last step is to remove air bubbles using a scraper tool. Then you’re done!
Tips When Removing Car Decals
When vinyl is placed directly on the car’s paint, there’s the risk of the paint coming off, especially when not removed properly.
Follow this step-by-step process on how to remove car decals:
- Clean the area of the car decal you want to remove.
- Introduce heat to the car decal using a hairdryer or heat gun.
- If the car decal is too big, work on sections.
- When heat is introduced, the adhesive slowly peels off.
- Use your fingers to slowly peel off the decals.
- Never use anything sharp to peel off the vinyl as this may damage the car’s surface.
- Start with the edges and slowly work your way to the center.
- Follow a side-to-side motion as you pull off the vinyl.
- If you’re having a hard time removing the vinyl, re-introduce heat into it.
- After the vinyl has been removed, there may be traces of the adhesive left, you can use adhesive remover or nail polish remover to completely remove it.
- If you use adhesive remover, place the recommended amount of the solution in the concerned area. Follow the instructions on the product on the recommended amount, and the technique of wiping away the adhesive.
- Avoid using nail polish remover on car paint as this may cause damage. Using nail polish remover on windows or glass is acceptable but not on car paint.
- After the traces of the adhesive have been removed, wipe it down with soap and water.
- In case the heat gun and adhesive remover trick does not work, use hot water and pour it over the decal.